|
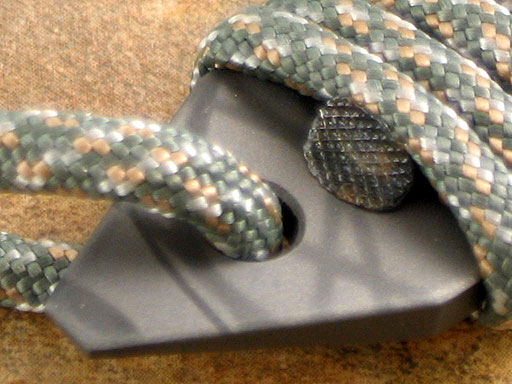
A lot of folks have asked me to do a quick tutorial showing my method of cord wrapping my tools. I certainly don't claim to be very original in my approach and there are many who do it much better. But I like my way of doing it because it is simple and in my opinion looks good and functions as intended. I start with about 5 or 6 feet of good quality 550 paracord. I get mine from supplycaptain.com. I like to leave the inner strands inside the cord because it provides a bulkier look and feel. I use a Bic lighter to melt the ends. One end I quickly roll between my thumb and forefinger to form a cone shape. If you don't over melt the cord it isn't too hot. On the other end I form a blob and then flatten it against the table with the side of the lighter. 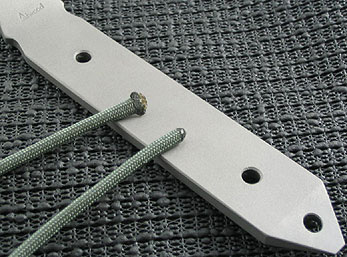 Next I hold the tool with the top side up. I start threading the cord, first through the rear hole and then along the back side of the tool and up through the front hole, pulling the cord tight. By doing this I have established a small "ridge" of cord along both sides of the tool. Note that I hold the flattened end with my thumb as a sort of "tail" on the top of the tool. The flat end is held nearly to the edge of the front hole. The flattened part allows for the loops of cord to have a smoother transition to form that ridge (or slight palm swell if you want to call it that) as I begin the wrapping. 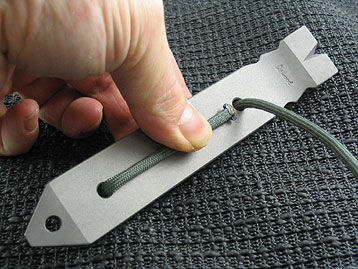 Next I begin the wrap. I keep the cord tight the whole time. Once I have made a couple of tightly pulled loops around the tool that "tail" of cord is held in place and I can remove my thumb. Then I can proceed to wrap the rest of the tool pulling tightly with every turn.  When I have reached the end of the wrapped area I then stuff the pointy end of cord back down through the top of that rear hole. There usually isn't much room for the tip to go through a second time. This is why it was important to have pulled the cord tightly from the very beginning because it leaves a little more room in there. . 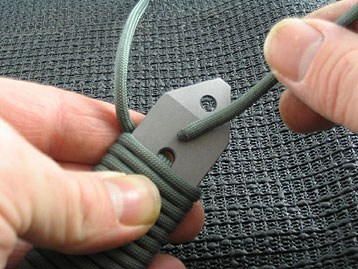 I use a pointy tool to poke the tip through. As I said above, it's usually a tight fit. :) 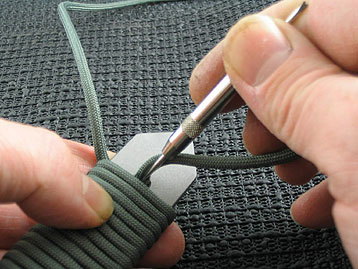 Once I have the tip poked through and can get a hold of it I pull it as tight as I can. 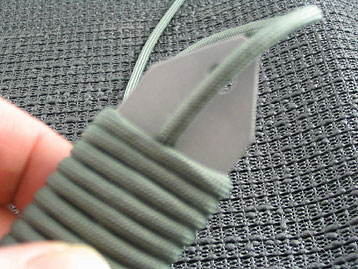 Now I carefully cut off the excess. I leave about 1/4" or so of cord hanging out of the hole. Don't worry, it will stay in place. Remember how hard it was to pull it through the hole? Friction is doing it's job. 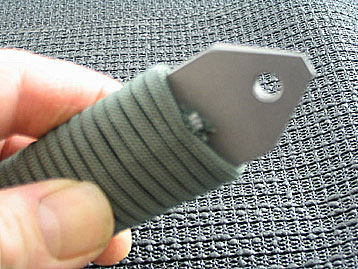 For the finish I hold the lighter up to the frayed end and very carefully heat it until it starts to blob up. You have to be careful here as you do not want to melt the adjacent cord loop if you can help it. Go slow and hold the flame away from the tool, you just want to very slowly melt that end. As soon as the blob forms press the side of a round tool against it. This smooshes it out to form a sort of paracord "rivet". I use the side of a knurled tool and it leaves a cool impression in the molten plastic. If you have left the correct amount of cord sticking out, the head of that rivet will be just big enough to prevent it from going back through the hole and often it will bond iself to the last cord loop as well. 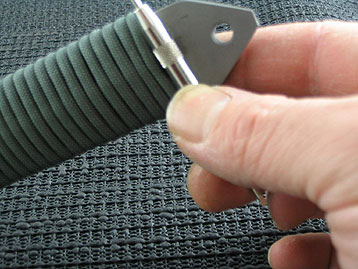 This is a very simple wrapping technique but it works well and results in a solid feel with good function. Have fun rewrapping your own tools! |